Google Drive File Stream
We’re pleased to announce access to Drive File Stream. It is a new application for your Mac or PC that gives you access to all your Google Drive files from your computer while using less disk space and decreasing sync time. Smart Notebook files and all other files can be launched and accessed through Drive File Stream.
How does it work?
With Drive File Stream, you can:
- Quickly see all your Google Drive files in Finder/Explorer.
- Browse and organize Google Drive files without downloading all of them to your computer.
- Choose which files or folders you would like to make available offline.
- Open files in common apps like Microsoft Office and Adobe Photoshop.
- Click here for step-by-step directions to start using Drive File Stream.
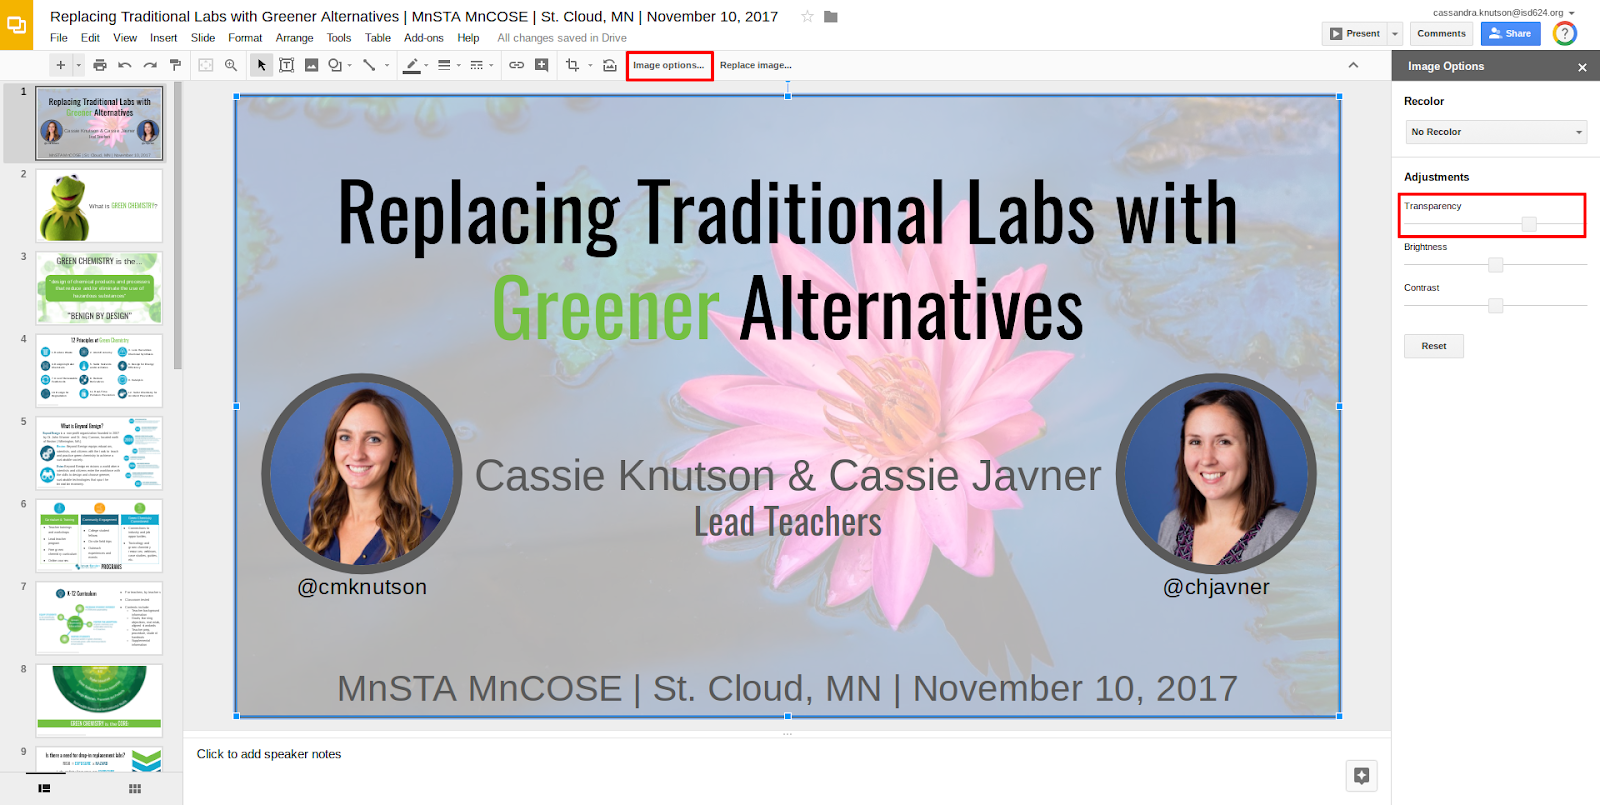
Organizing your Google Drive Using Images
As your Google Drive starts to fill up, a fun and effective way to get organized is to use images and colors. Here are directions to add images to your folder names.
 |
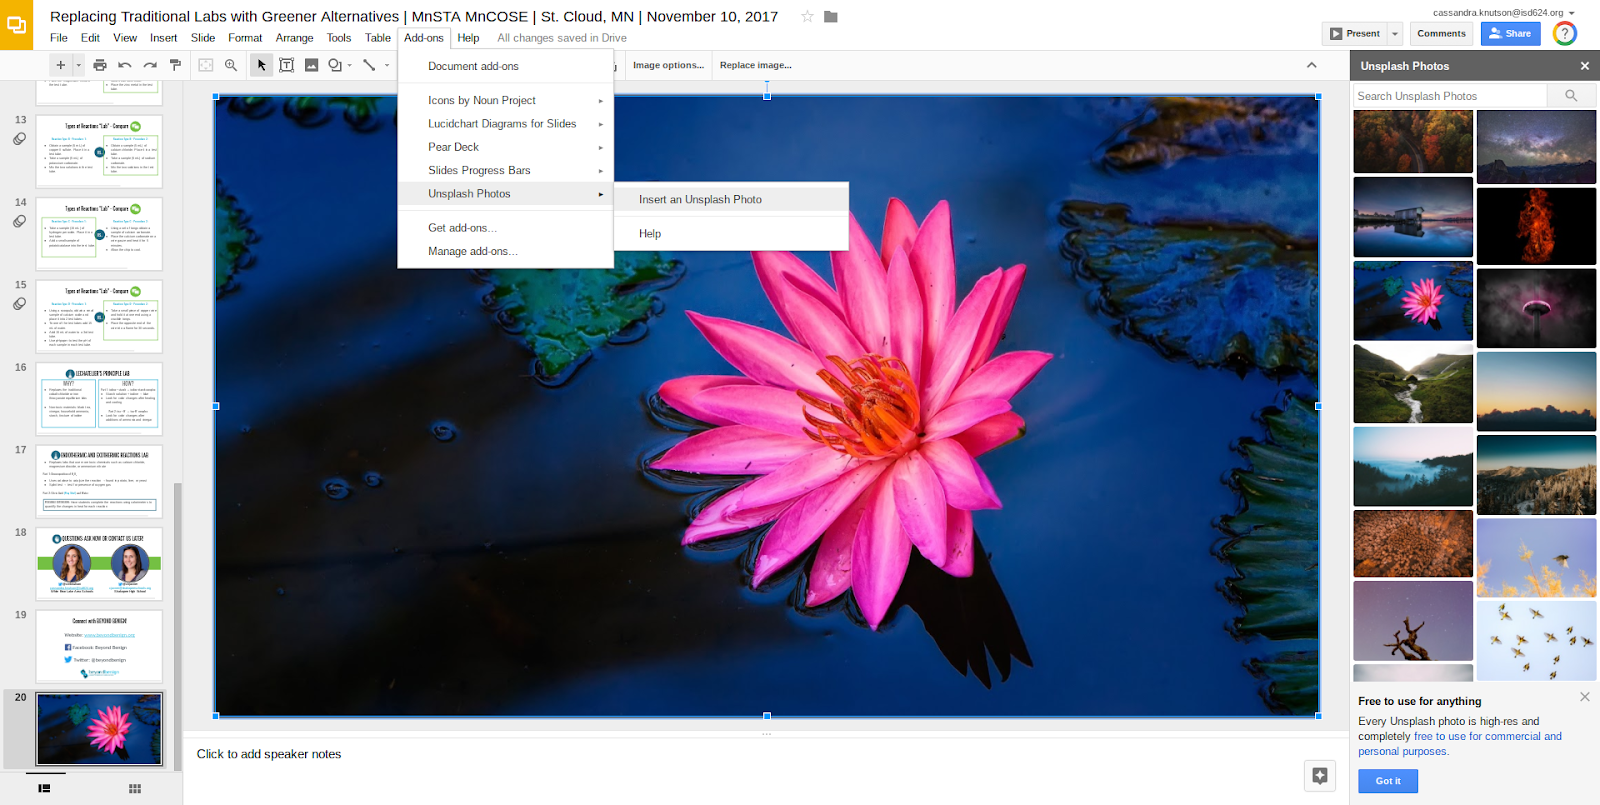
Step 1: Open one of these emoji sites.
|
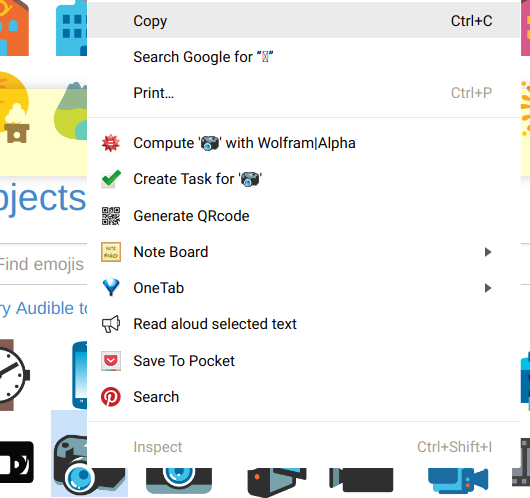
Step 2: Find an emoji that will help you easily identify your folder. Copy that image.
 |
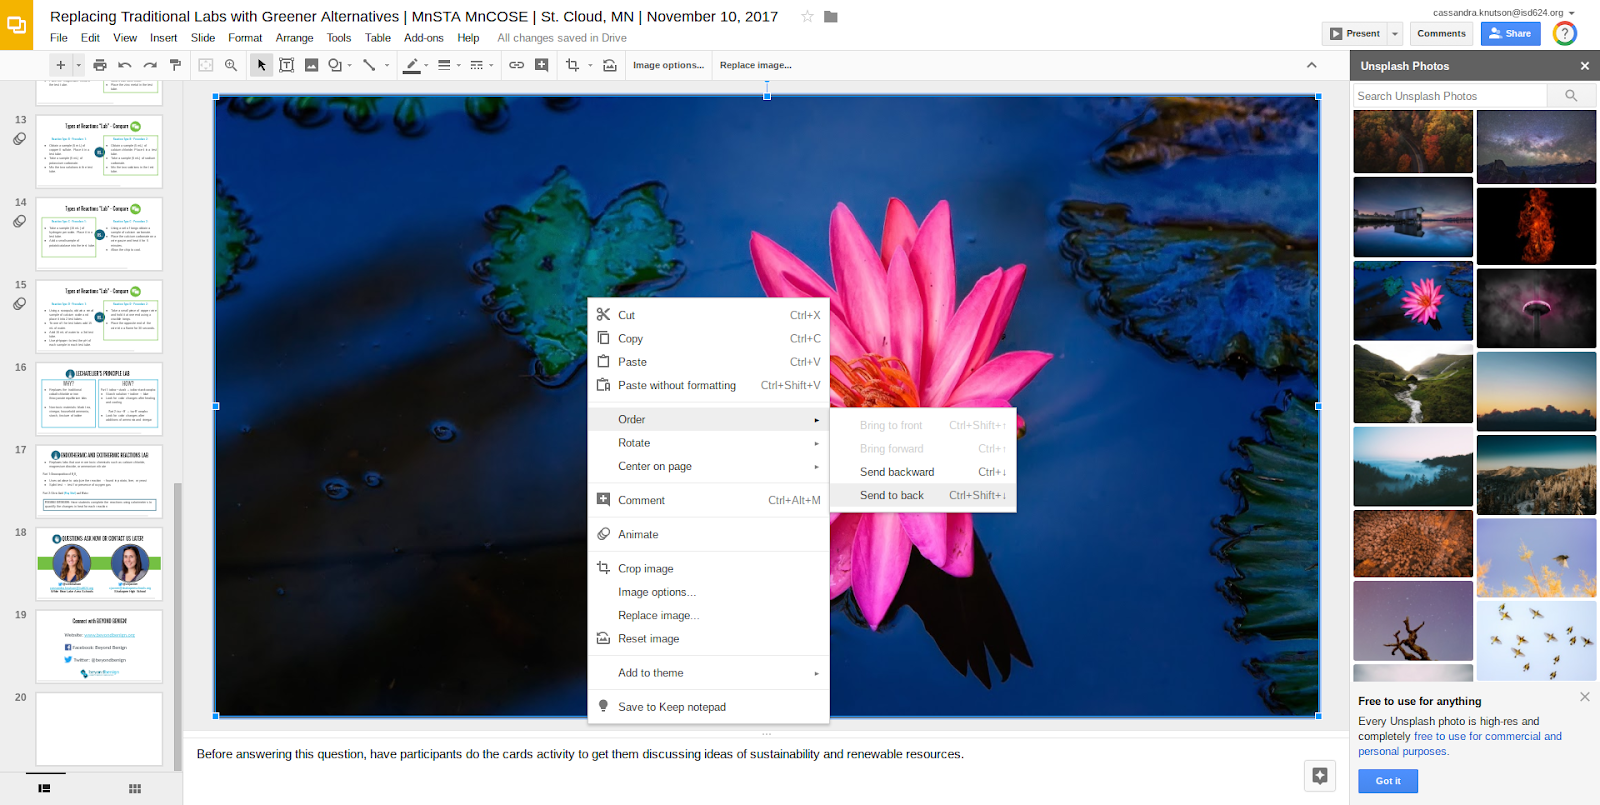
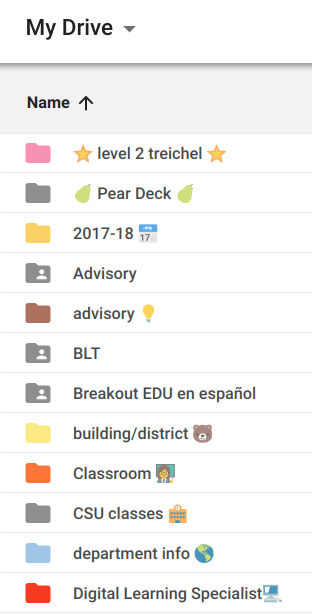
Step 3: Open your Google Drive. Right-click the folder and choose “rename”.
*This is the also the spot where you can change the color of your folder.
*A shortcut to rename folders is typing an N when you have the folder highlighted.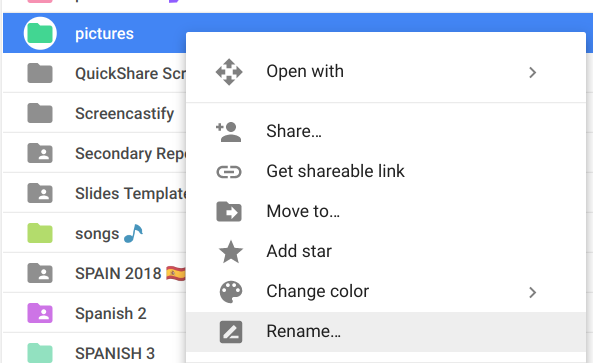 |
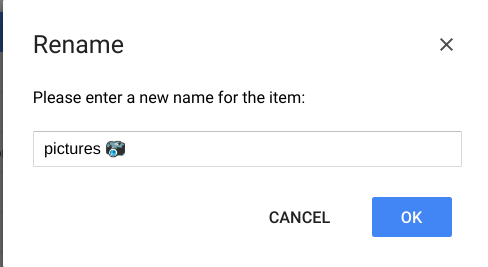
Step 4: Paste the saved image into the folder’s title.
 A few notes about organization... *adding an emoji at the beginning of a title will have an impact while sorting, but adding an emoji to the end will not *if you have frequently accessed folders you could put the emoji in the front *if you want to keep everything alphabetical then put the emoji in the back *use colors to sort themes, chapters, teaching levels, etc. |